Turning Studio Headphones Into a Headset
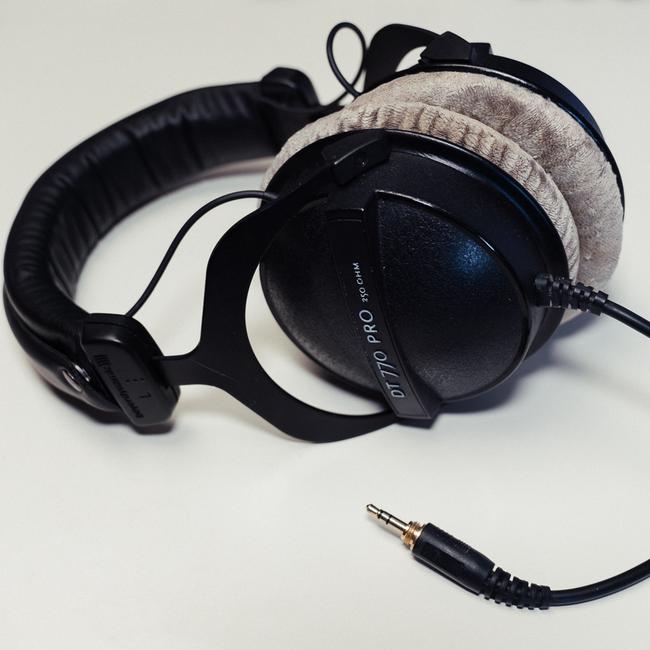
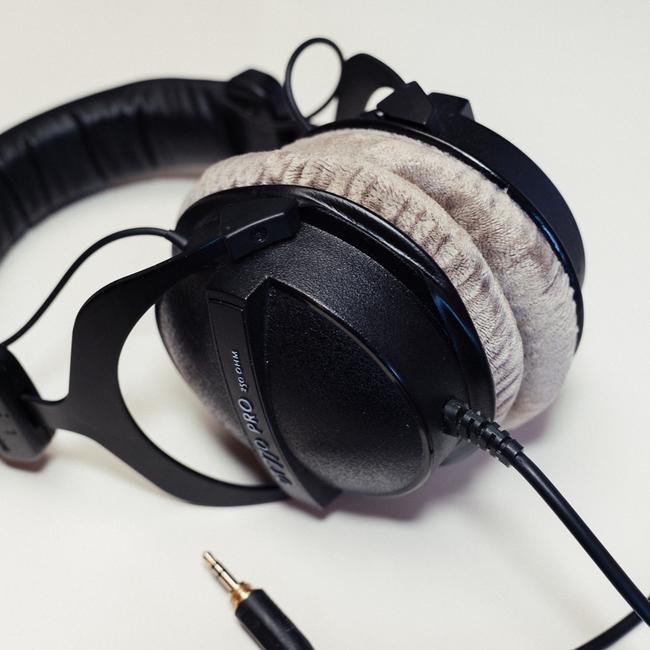
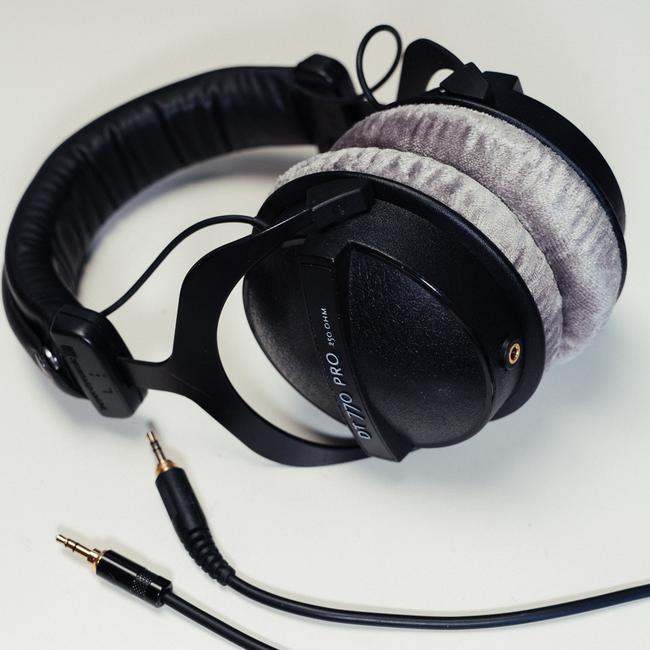
In a recent virtual meeting a new colleague was surprised to see me using a Beyerdynamic DT 770 PRO headset – a product Beyerdynamic does not even list.
The DT 770 PRO are well-known studio headphones, and so are all the other entries in Beyerdynamic’s studio
line.
Only their gaming
line of products features headsets.
So how could I possibly be using a device that does not seem to exist?
The solution is unspectacular if one is aware of “detachable microphones”. To turn a wired studio headphone into a headset all one needs to do is to make it possible to attach such a microphone. This post illustrates
- how replacing the integrated headphone cable by an audio jack achieves this,
- the concrete implementation using my DT 770 PRO as a test object.
Introduction
I’ve owned Beyerdynamic DT 770 PRO studio headphones for ages. However in the past I could not use them to participate in virtual meetings or for voice chat in multiplayer games. Instead, I resorted to various headsets even though I was always left dissatisfied with their wear comfort and sound.
Using a professional microphone and audio interface for these use cases felt like overkill. I was rather saying to myself that, once my headphones would break, I would eventually see to find to a model with an audio jack. This would enable me to plug in some “detachable microphone”, like the Beyerdynamic CUSTOM Headset Gear or V-MODA BoomPro. With this “solution” sketched out I didn’t really look into the issue anymore.
About a year ago, when it was once again time to replace the ear pads, it occurred to me that – while I was at it – I could also simply replace the integrated headphone cable by a 3.5mm audio jack. It was only when I started looking for suitable components that I noticed my tinkering project to actually be a pretty standard modification. It is a trivial mod, but I figured I should spread the word. Had I been aware of it, I wouldn’t have spent all these years with regular headsets.
The Modification in Theory
To better understand the initial situation, consider the following sketch of the wiring in the unmodified headphones. The scale of some parts is a bit exaggerated to make relevant details more visible.
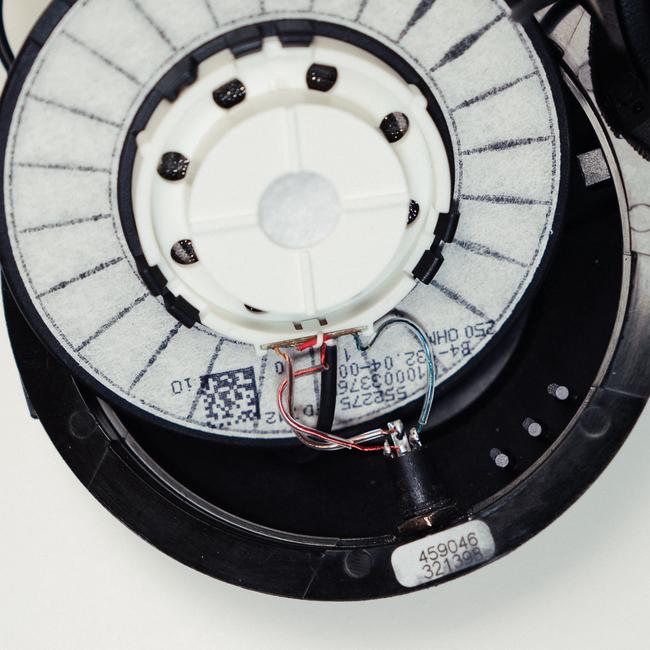
The depicted audio plug is a TRS connector. It exposes three conductors which the integrated cable connects to a small PCB inside the headphone housing. This PCB, in turn, is wired to the left and right loudspeaker. Aside from the obligatory ground reference point the conductors are designed to transmit the left and right audio channel signals.
It should be easy to see that the integrated cable can readily be turned into a detachable one by cutting through it and attaching matching connectors to both ends. It is advisable to cut the wires inside the housing – in contrast to cutting the cable outside – as this enables fitting the jack into the housing.
That’s already it. At this point one can just plug in a detachable microphone into the headphones to turn them into a headset, or stick to the detachable cable when no mic is needed. To make it obvious why and how this works, let’s put the wiring of a detachable microphone in the context of the modified headphone.
The detachable microphone looks a lot like the detachable cable from the previous sketch, with the exception that this one has an additional wire for the microphone signal. A quick look at the wiring confirms that a detachable microphone is essentially just a cable housing two decoupled products: a mono microphone and a stereo phone cable. They just happen to share the ground wire. The headphones couldn’t care less whether the detachable microphone is plugged in or the detachable cable – it’s the same TRS connector and the same signals in both cases.
The TRRS connector on the other end is what goes into the computer. It’s the standard way of supporting both headphones and headsets on the same jack.
The Modification in Practice
Replacing the integrated headphone cable by an audio jack resolves a real annoyance for me. I figured it might do so for others and did therefore document every (mis)step of the process.
Overall the modification requires
- a drill to turn the rectangular hole for the integrated cable into a circular hole for the jack,
- something like a small, flat screwdriver to lever up some parts,
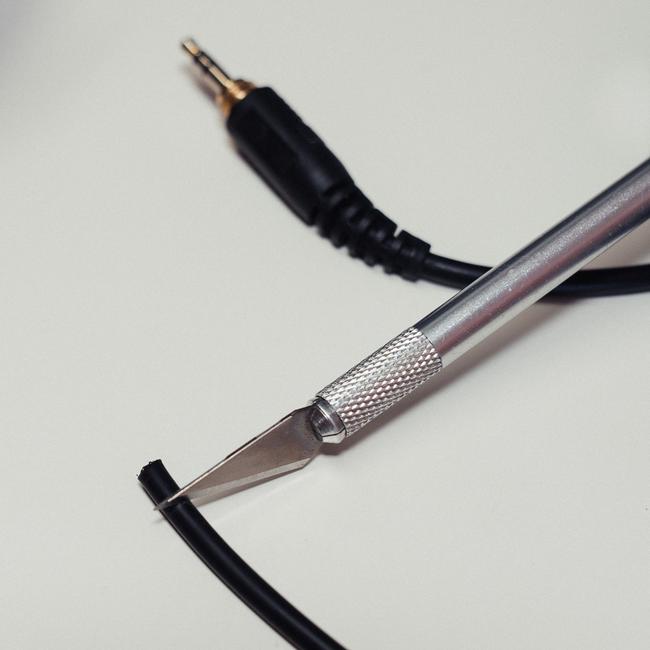
- something to cut the cable and remove insulation from wires – a knife or scalpel will do,
- matching TRS connectors, i.e. a jack (PMA-009494) and a plug (NYS231BG),
- small pliers to screw the jack into the housing,
- a soldering iron to make the electrical connections permanent.
Step 1: Opening the Housing
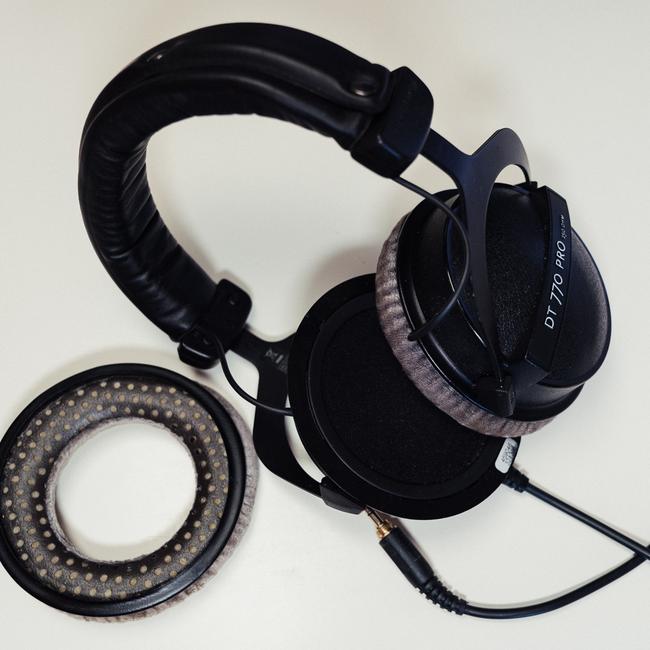
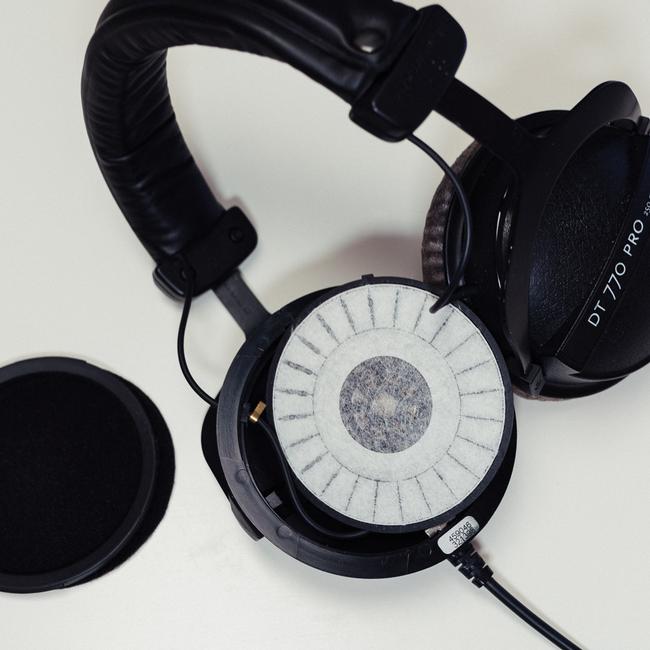
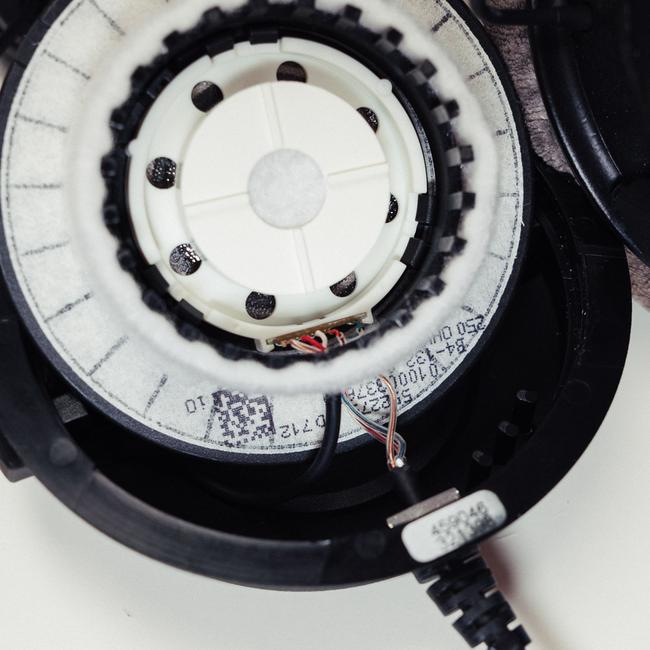
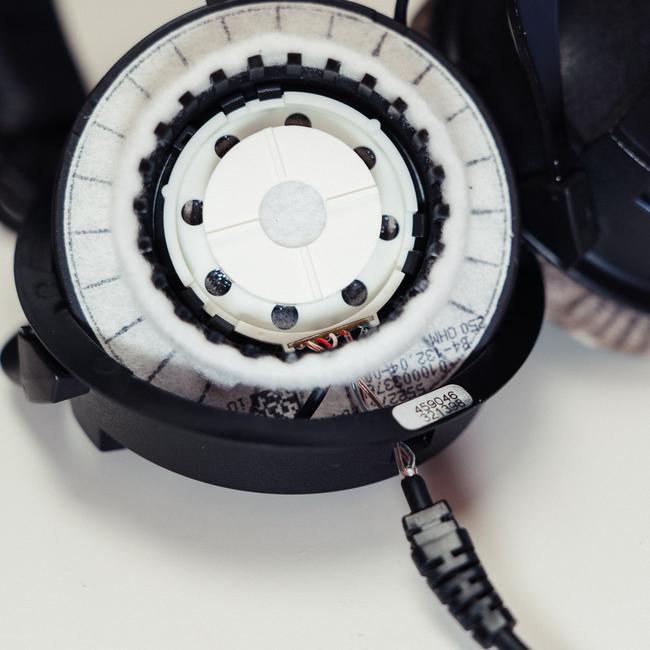
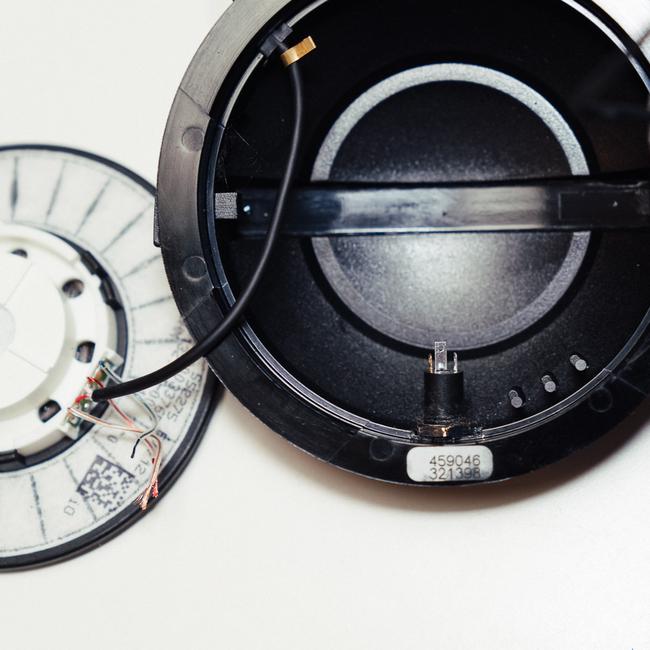
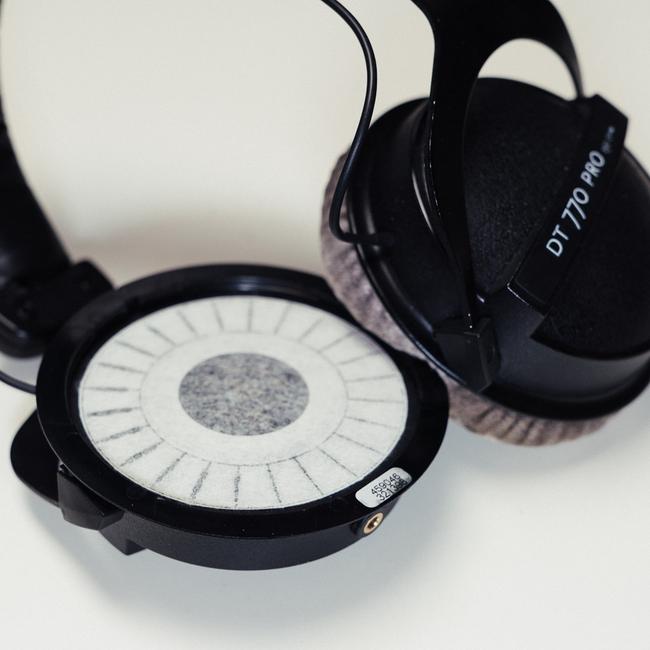
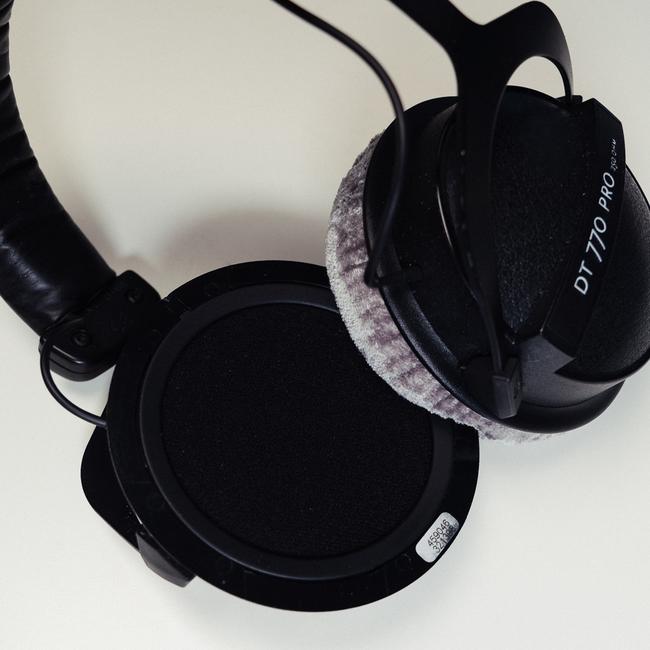
To replace the integrated audio cable, we must cut through it inside the headphone housing. For this, we first need to open the housing. This amounts to peeling off the ear pad and removing the clamping ring.
Step 2: Cutting the Integrated Cable
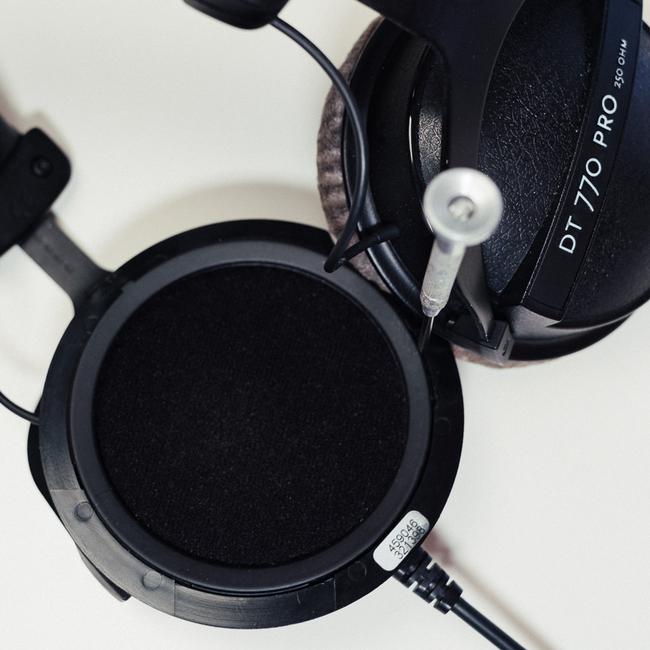
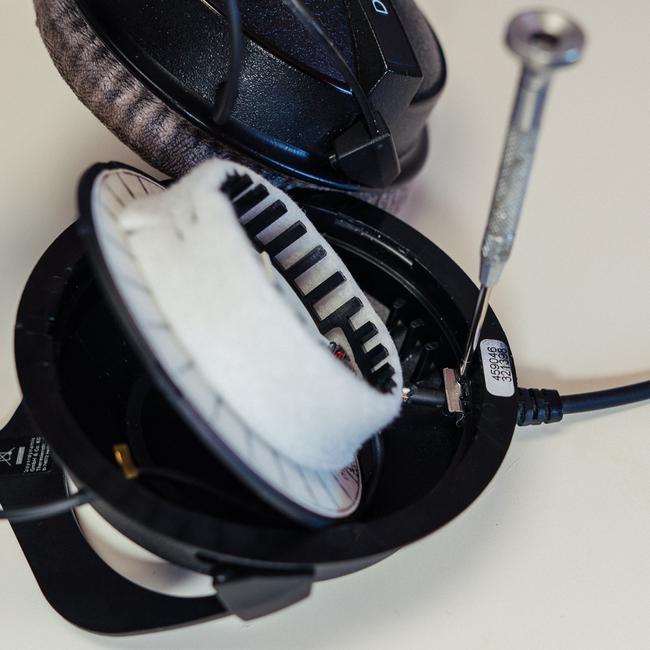
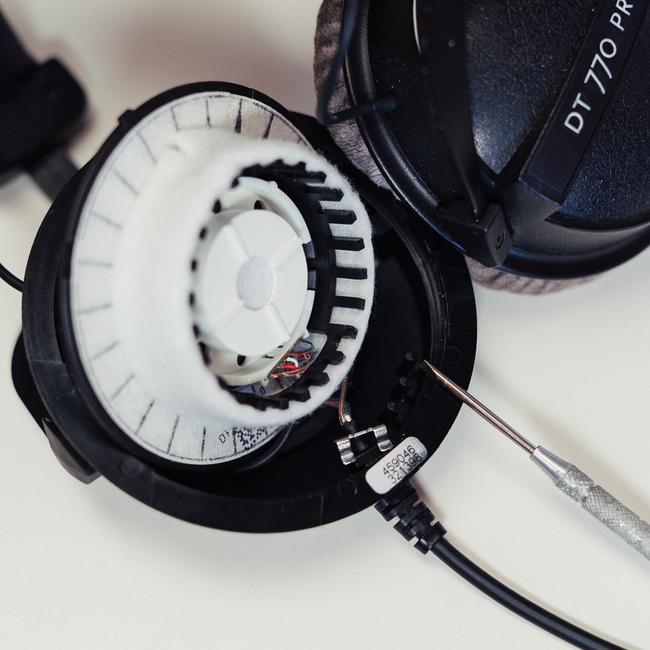
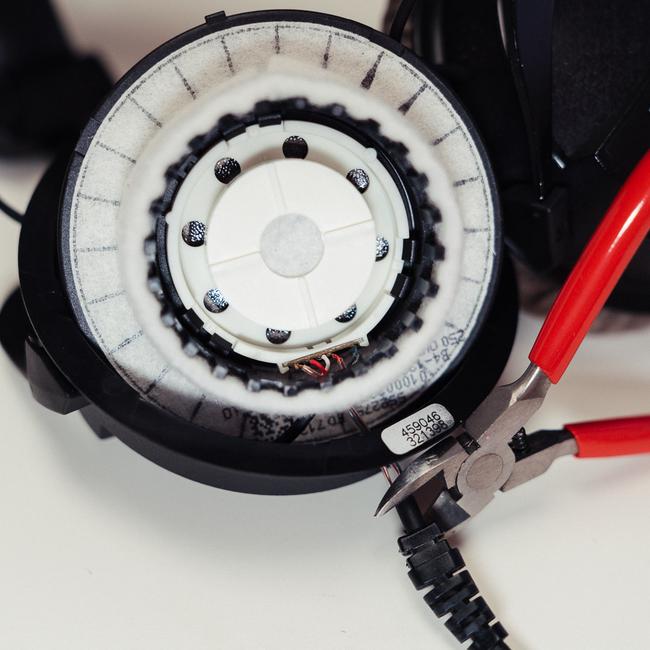
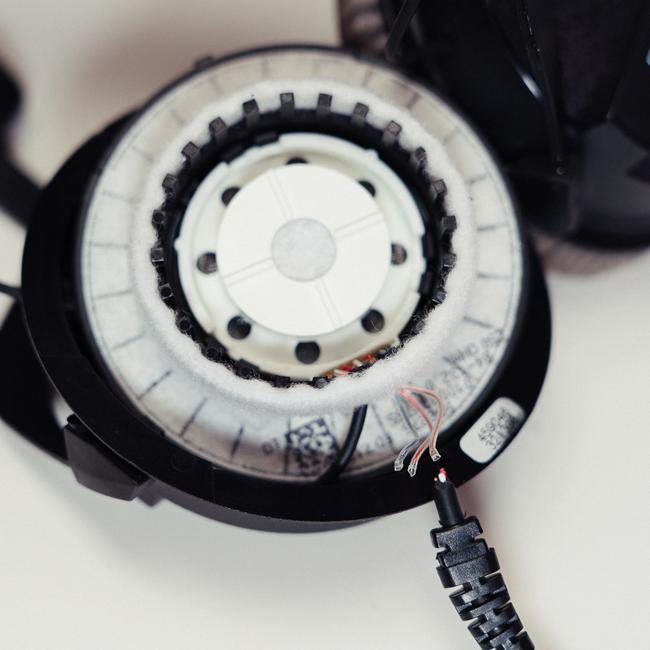
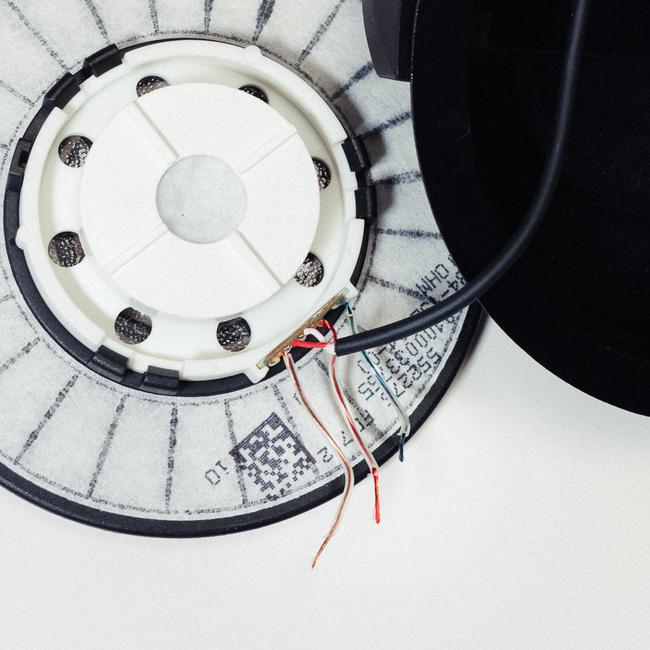
Instead of adding an additional hole to the housing, the plan is to repurpose the one occupied by the integrated cable. That is, the cable must must be removed to make place for a jack. It is advantageous to cut through the wires as far from the PCB as possible since we’ll later have to solder them to the jack.
Step 3: Attaching a Plug to the Cable
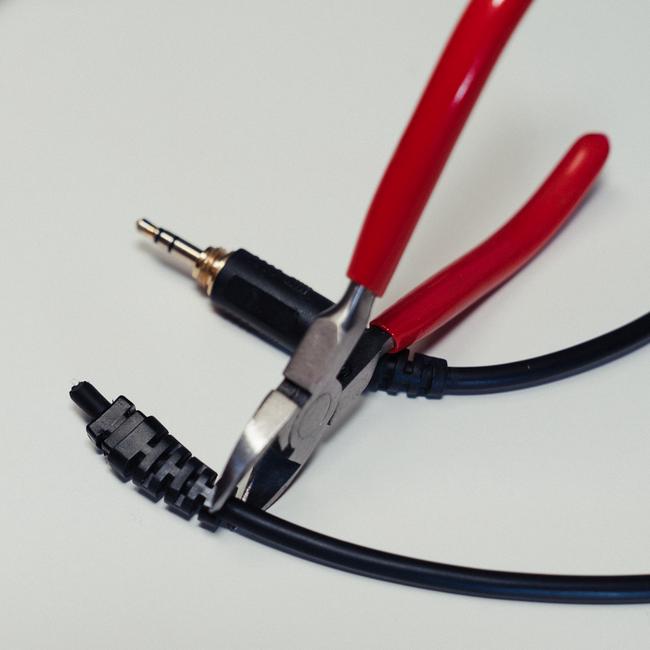
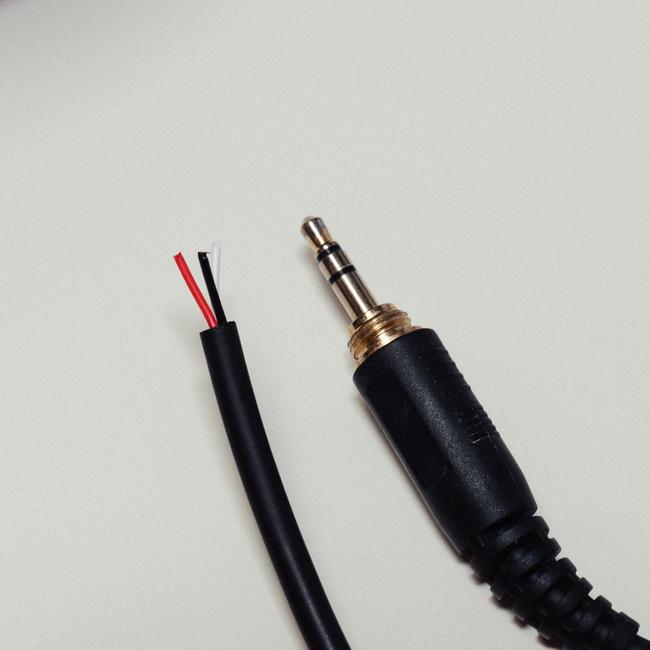
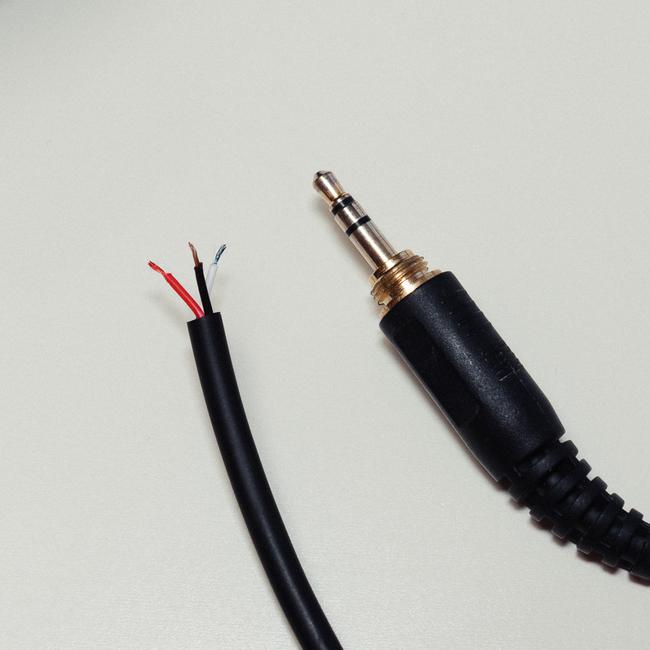
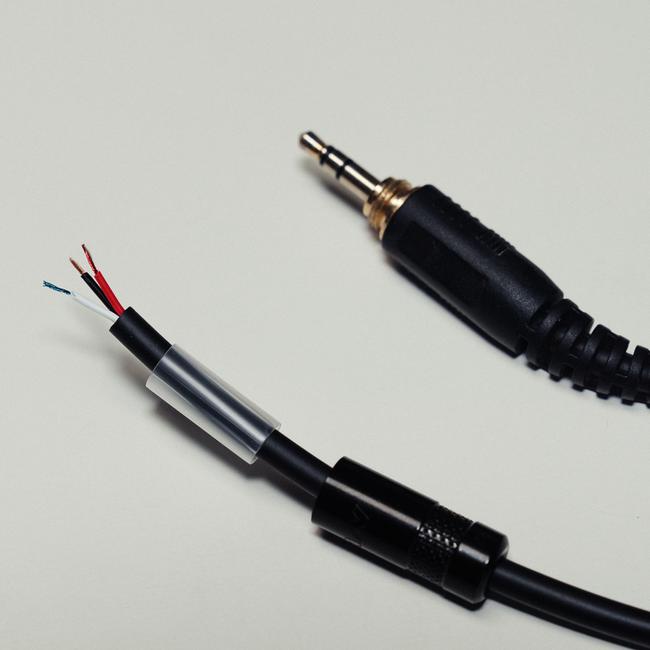
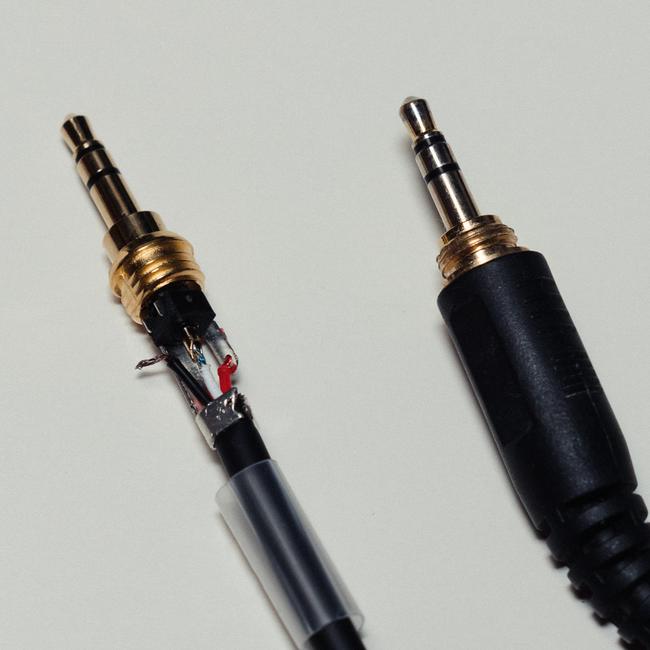
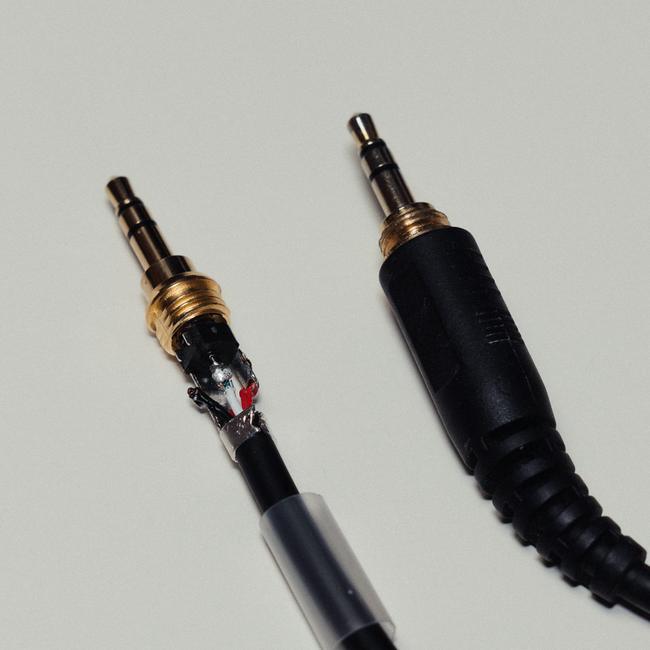
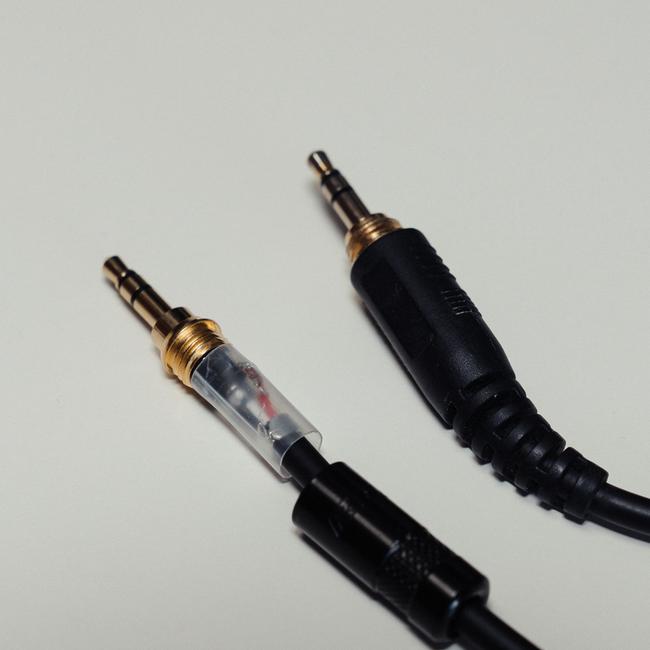
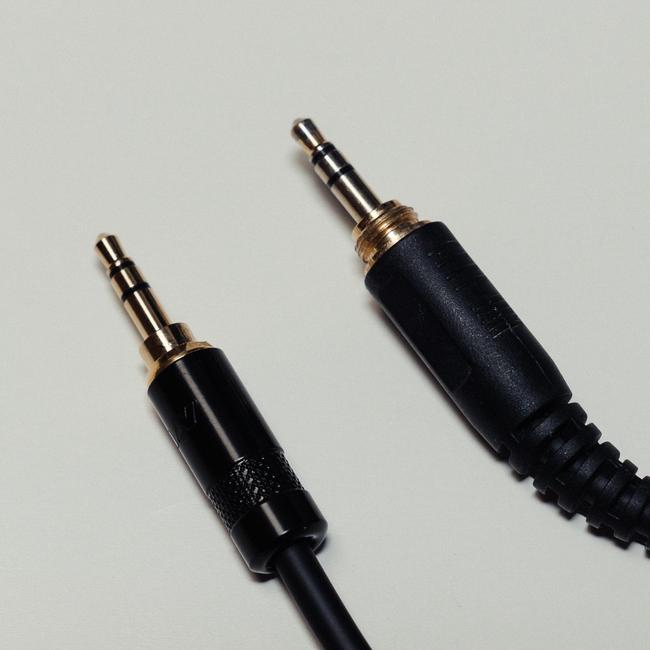
By attaching another plug to the cut cable one can easily turn it into a detachable cable, rather than throwing it away.
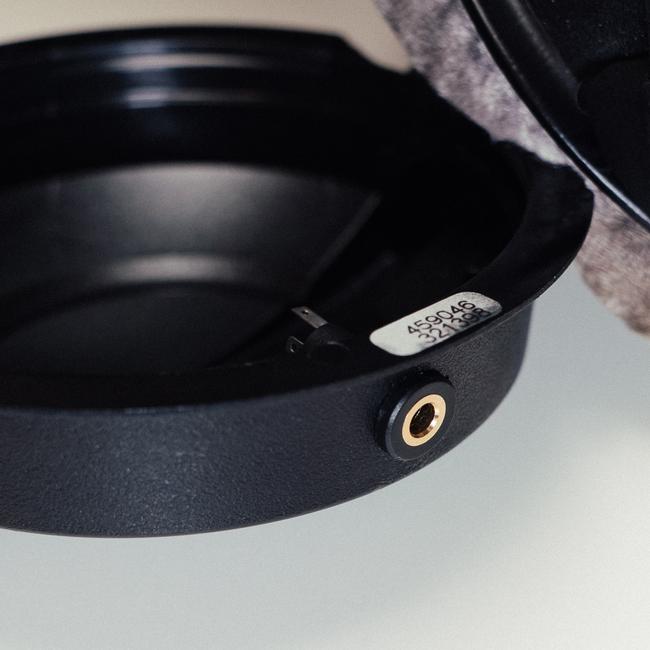
Step 4: Attaching a Jack to the Headphone
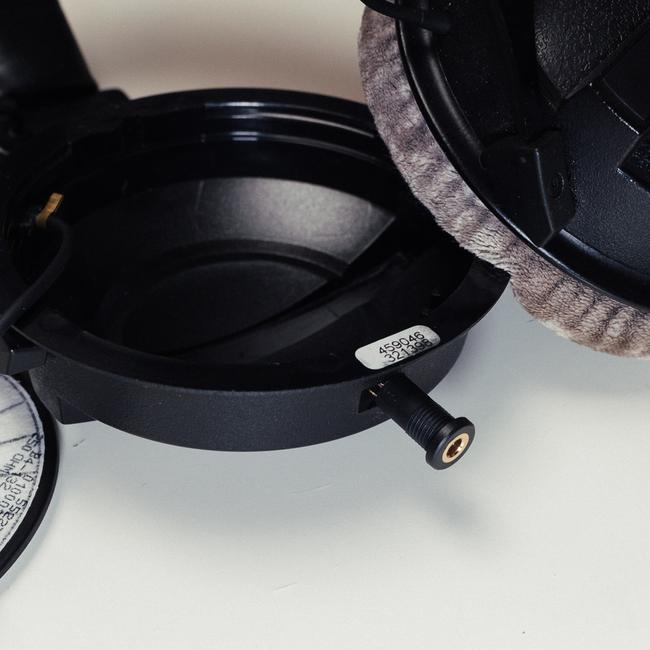
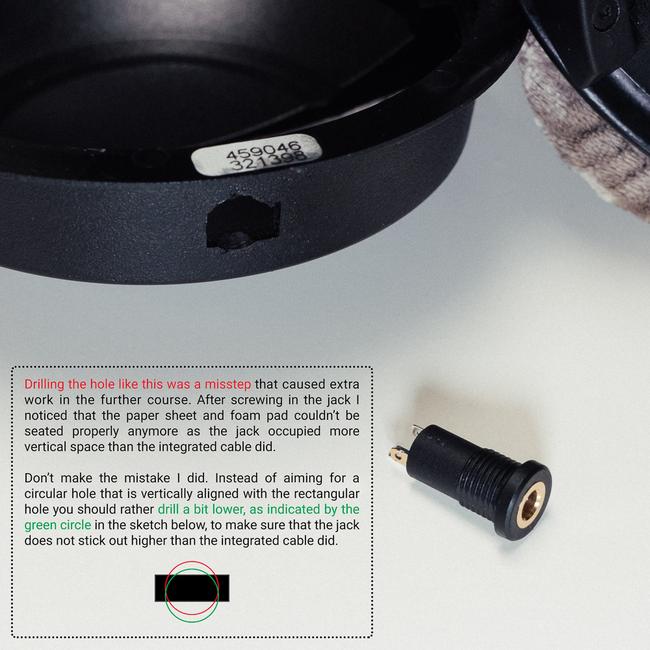
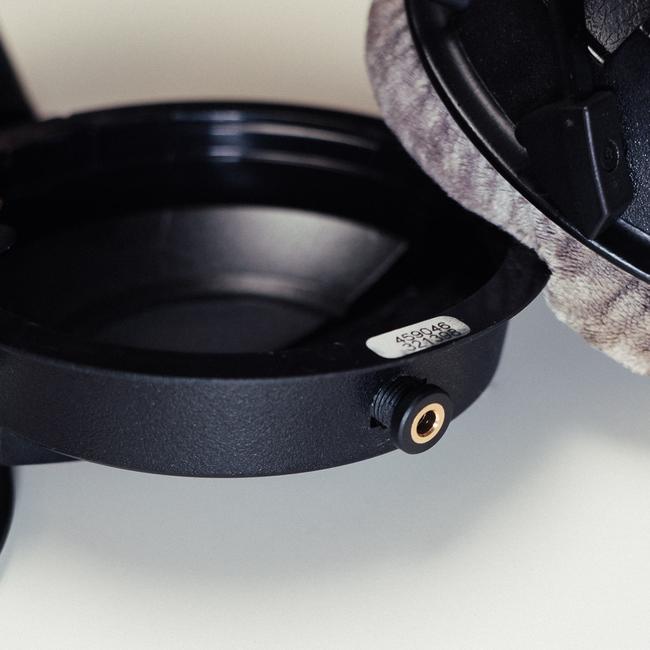
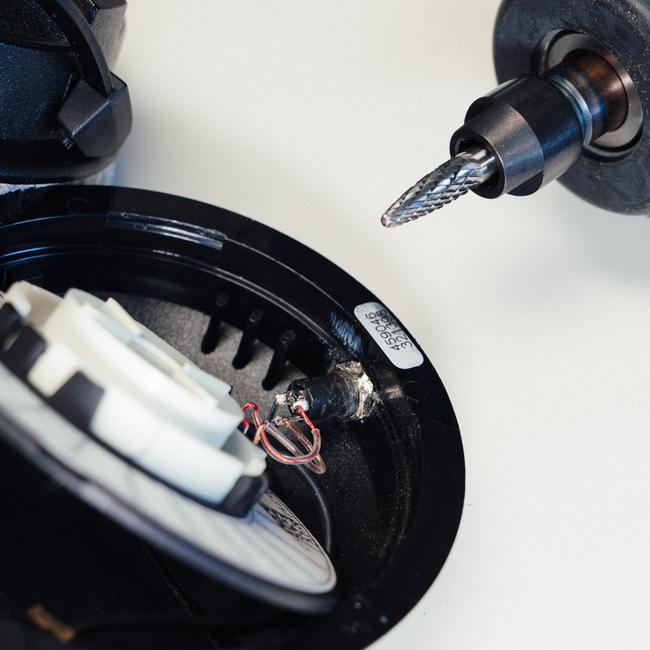
The jack doesn’t quite fit into the rectangular hole of the integrated cable. The hole must be enlarged a little bit to make it possible to screw the jack into the housing. Then the wires can be soldered to the jack.
Step 5: Closing the Housing
Before putting the headphones back together again, plug them into some audio source to make sure they still work after the modification. If they don’t, there’s probably a loose connection somewhere.
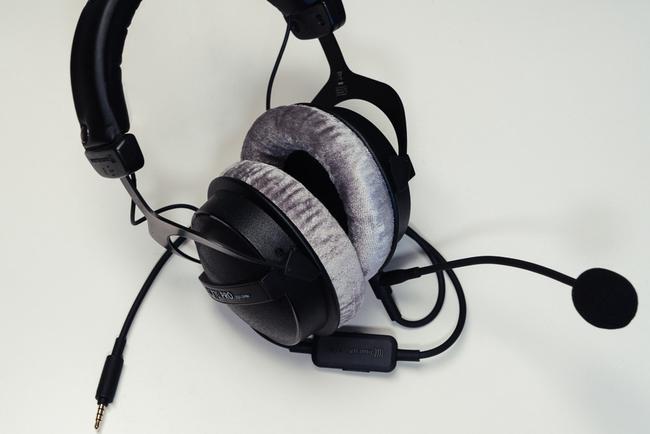
I’ve been using the modified headphones for about a year without any issues, and I expect to do so for many years to come.
